Wednesday, September 28, 2011

Baked Potato Bag for Microwave, Step-by-Step Instructions

This quick and easy baked potato bag for the microwave has been popping up all over the internet and receiving rave reviews for moist and fluffy baked potatoes in minutes!

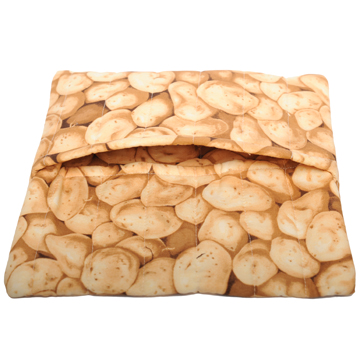
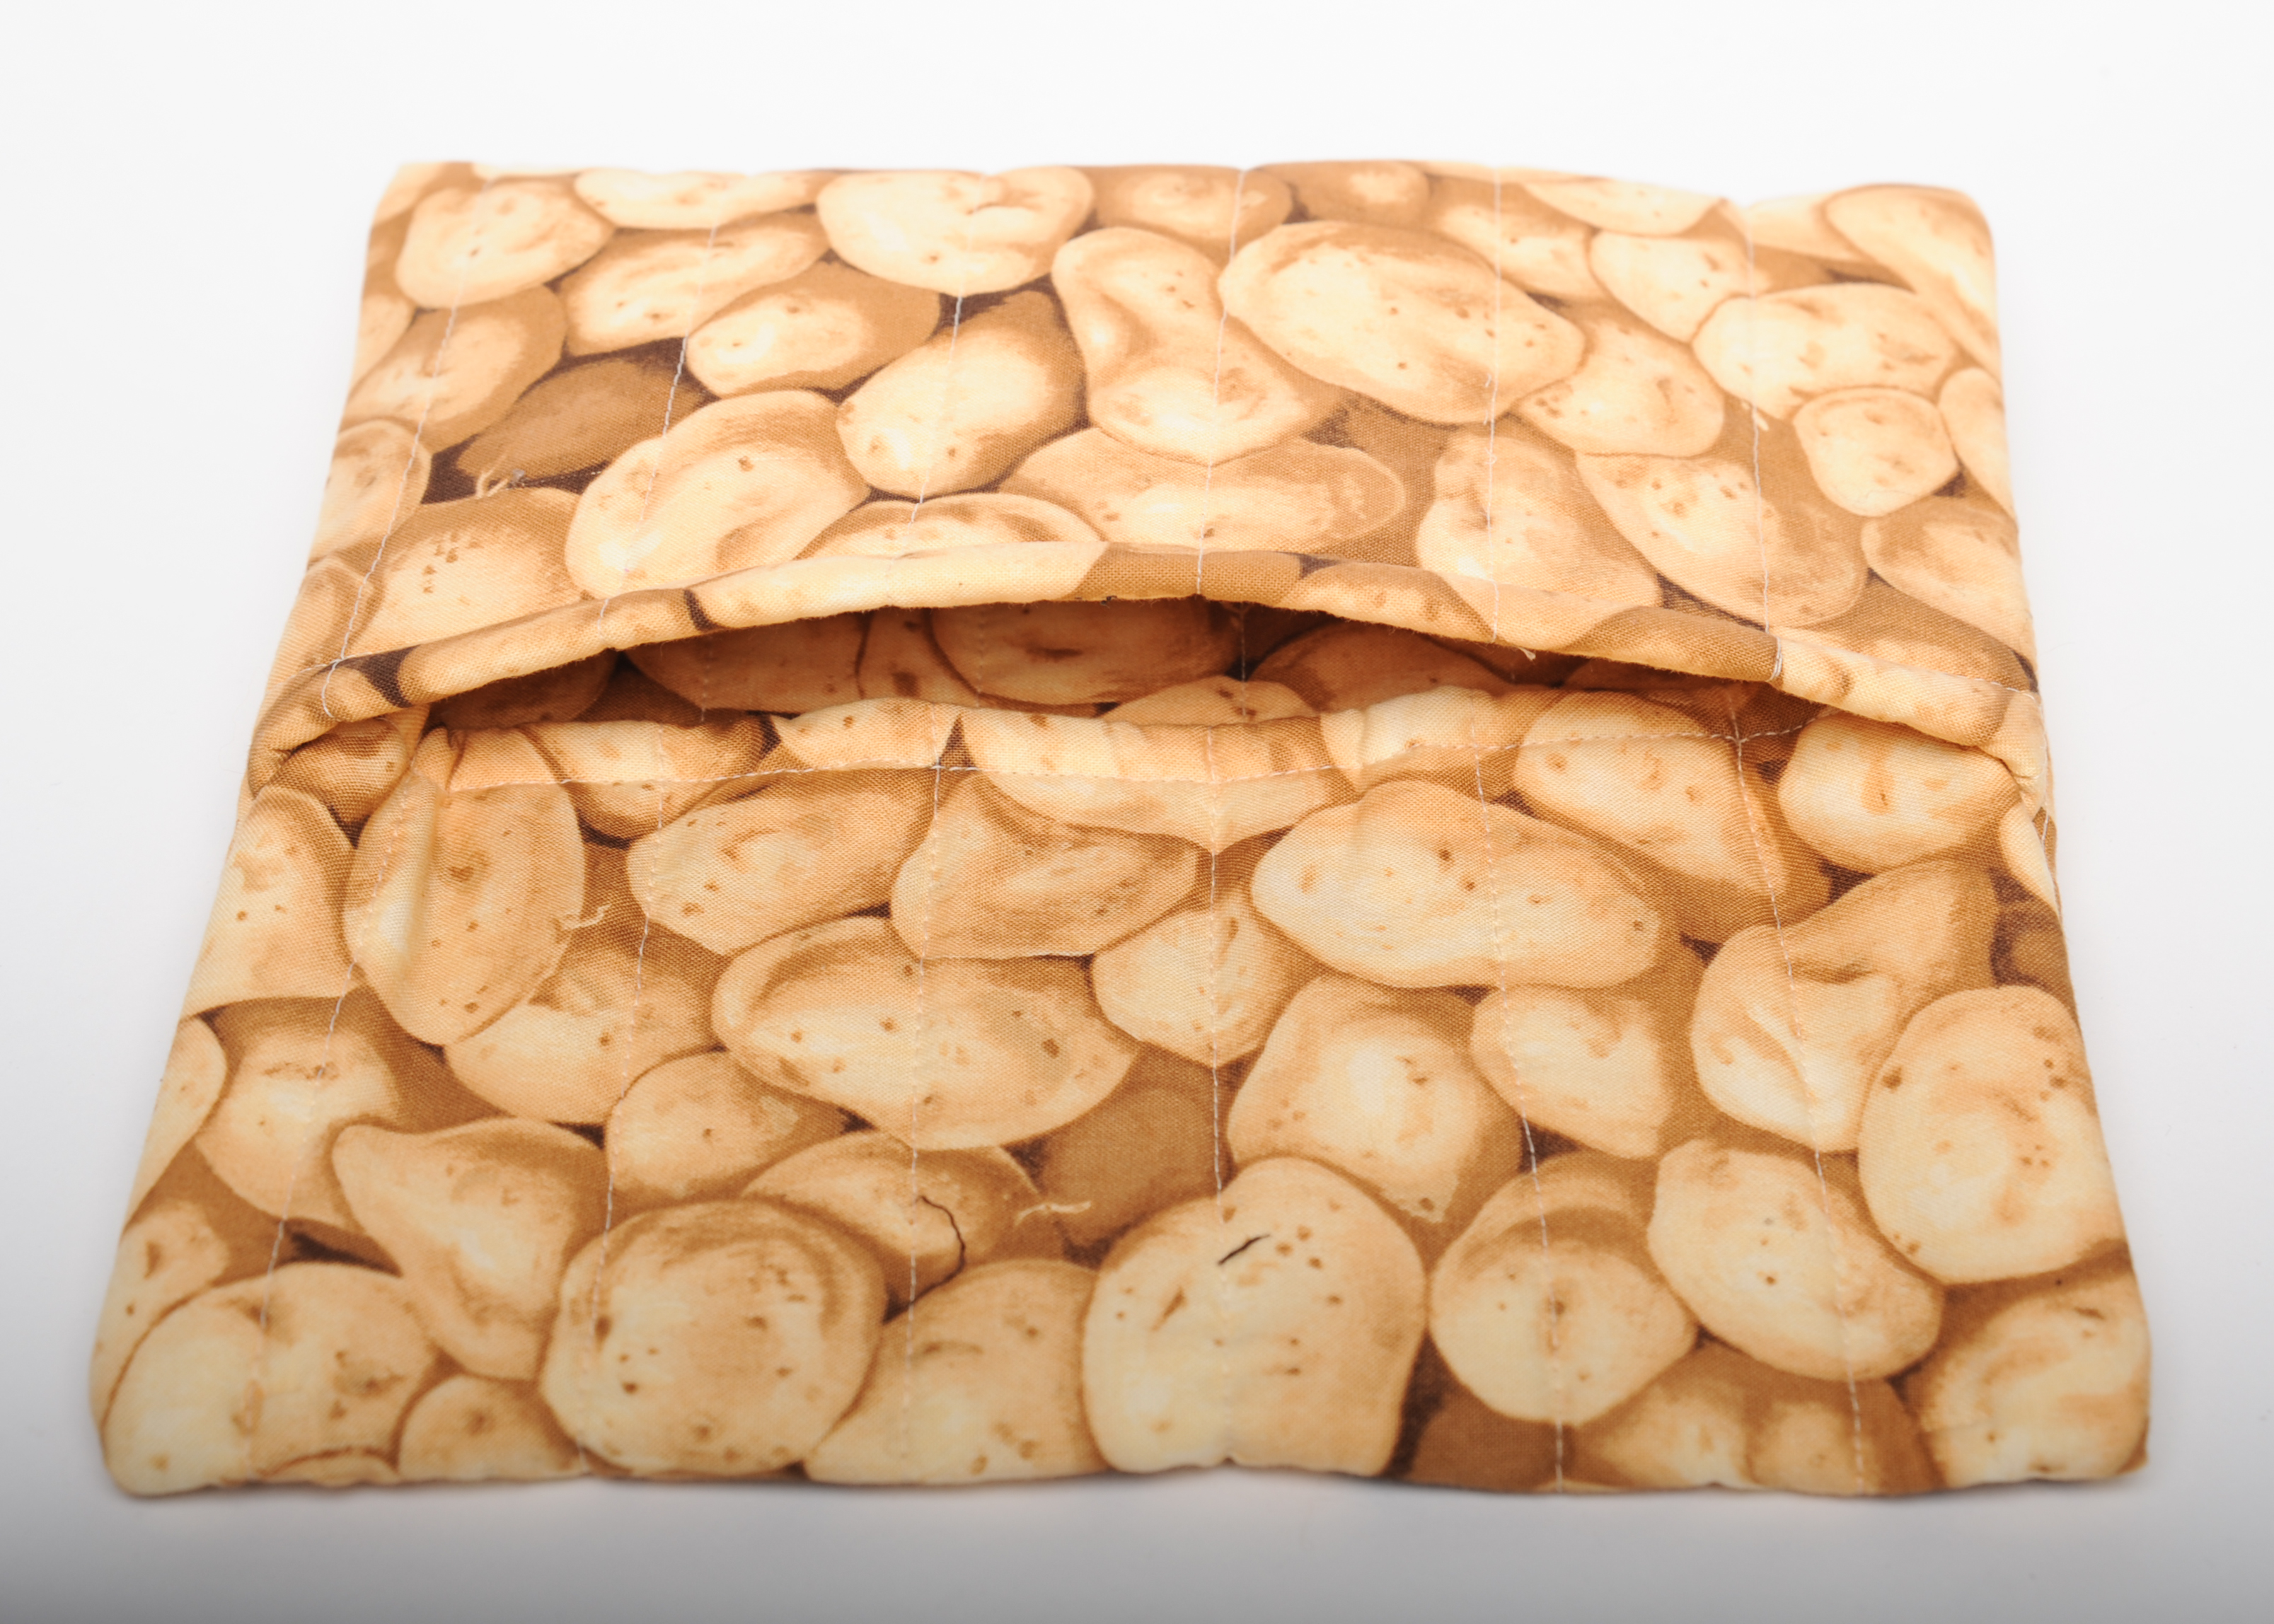
Here's our spin on this popular craft; we made ours out of some neat culinary-themed cotton prints and natural cotton batting from www.LowPriceFabric.com. This project comes just in time for fall and the holidays, and is an easy-to-make, great gift!  And, you can even use it for cooking corn on the cob, sweet potatoes, or warming bread or tortillas!

Before you begin, make sure the finished bag size (10" x 10") will fit in your microwave with at least an inch of free space around it. If your microwave has a turn table, make sure that the finished sized will freely rotate. If the bag will not fit with enough free space, adjust the pattern accordingly.

  • There have been some reports of microwave fires when people fail to follow instructions, fail to supervise the cooking, or use materials other than 100% cotton.  Since some people have had issues with the corner of the bag, our advice is to trim off the bulky corners when you sew it (step #6). 

  • Don’t use the bag over and over to cook many potatoes, because the bag may overheat and start a fire! Heat it once, then let cool completely before using it again.

  • Do not use in conventional or toaster ovens - microwave oven only!

  • Be sure to use only 100% Cotton batting & materials, with no metallic threads.

1. What you will need:


100% Natural Cotton Batting: 1 piece 11" x 22"

100% Cotton outer fabric:  1 piece 11" x 22"

100% Cotton inner fabric: 1 piece 11" x 22"

(If you are using the same fabric for both the inside and outside, 1/3 of a yard of 45" wide 100% cotton will be sufficient.)

*You do not need to prewash the materials; they will be laundered all together once sewing is complete.*

2. Stack the layers of fabrics in the following order, aligning all edges:

  • Inner fabric first, right side facing up (bottom of stack)

  • Outer fabric next, right side facing down (middle of stack)

  • Cotton Batting last (top of stack)

3. Stitch the short (11") edges with a 1/2" seam allowance. Iron seams open/flat and turn so right sides of fabric are facing out. Press sewn edges and topstitch 1/2" from edge.


4. Quilt or tack the three layers, leaving no more than 5" open or unstitched. (At this stage, you should have the two fabrics facing right sides out with the batting in between.)

5. Surge or zig-zag stitch the raw edges that are the long (22") sides.

6. Fold the shorter edges into the center, overlapping 1" and forming a 10" square. Pin and sew the pre-surged, 22" edges 1/2" from edge. Trim any extra bulk from the corners to decrease any chance of fire or scorching.

7. Flip the bag right side out, pressing seams smooth.

8. Machine wash cold and tumble dry warm. Do not use any fabric softeners or laundry treatments other than regular detergent.

9. Bake your first potato! Microwaves will vary, but here is an approximate time calculator:
2 Large Russet Potatoes: 8 minutes
2 Large Red Potatoes: 8 minutes
3 Medium Bread Rolls: 20 seconds
2 Medium Sweet Potatoes: 10 minutes
2 Large Corn Cobs: 6 minutes
Tortillas: times vary

Please use care, common sense, and proper supervision. This is a free tutorial; make these bags and use at your own risk.  Using these instructions indicates you have read and understand the written precautions and agree to use prudent and reasonable care when using this potato bag. Thank you, and enjoy!

Microwave Baked Potato Bag, Step-by-Step Instructions

This quick and easy baked potato bag for the microwave has been popping up all over the internet and receiveing rave reviews for moist and fluffy baked potatoes in minutes! You can also use it for cooking corn on the cob, sweet potatoes, or even warming bread or tortillas!


Here's our spin on this popular craft; we made ours out of some neat cotton prints from www.LowPriceFabric.com. This project comes just in time for fall and the holidays, and is an easy-to-make, great gift!


Before you begin, make sure the finished size (10" x 10") will fit in your microwave with at least an inch of free space around it. If your microwave has a turn table, make sure that the finished sized will freely rotate. If the bag will not fit with enough free space, adjust the pattern accordingly.

  • There have been some reports of microwave fires when people fail to follow instructions, fail to supervise the cooking, or use materials other than 100% cotton.  Since some people have had issues with the corner of the bag, our advice is to trim off the bulky corners when you sew it (step #6). 

  • Don’t use the bag over and over to cook many potatoes, because the bag may overheat and start a fire! Heat it once, then let cool completely before using it again.

  • Do not use in conventional or toaster ovens - microwave oven only!

  • Be sure to use only 100% Cotton batting & materials, with no metallic threads.

1. What you will need:


100% Natural Cotton Batting: 1 piece 11" x 22"

100% Cotton outer fabric:  1 piece 11" x 22"

100% Cotton inner fabric: 1 piece 11" x 22"

(If you are using the same fabric for both the inside and outside, 1/3 of a yard of 45" wide 100% cotton will be sufficient.)

*You do not need to prewash the materials; they will be laundered all together once sewing is complete.*

2. Stack the layers of fabrics in the following order, aligning all edges:

  • Inner fabric first, right side facing up (bottom of stack)

  • Outer fabric next, right side facing down (middle of stack)

  • Cotton Batting last (top of stack)


3. Stitch the short (11") edges with a 1/2" seam allowance. Iron seams open/flat and turn so right sides of fabric are facing out. Press sewn edges and topstitch 1/2" from edge.

4. At this stage, you should have the two fabrics facing right sides out with the batting in between. Quilt or tack the three layers, leaving no more than 5" open or unstitched.

5. Surge or zig-zag stitch the raw edges that are the long (22") sides.

6. Fold the shorter edges into the center, overlapping 1" and forming a 10" square. Pin and sew the pre-surged, 22" edges 1/2" from edge. Trim any extra bulk from the corners to decrease any chance of fire or scorching.

7. Flip the bag right side out, pressing seams smooth.

8. Machine wash cold and tumble dry warm. Do not use any fabric softeners or laundry treatments other than regular detergent.

9. Bake your first potato! Microwaves will vary, but here is an approximate time calculator:
2 Large Russet Potatoes: 8 minutes
2 Large Red Potatoes: 8 minutes
3 Medium Bread Rolls: 20 seconds
2 Medium Sweet Potatoes: 10 minutes
2 Large Corn Cobs: 6 minutes
Tortillas: times vary

Please use care, common sense, and proper supervision. This is a free tutorial, make these bags and use at your own risk.  We are not responsible for any damage caused by using this free tutorial.  Using these instructions indicates you understand this and agree to use prudent and reasonable care when using this potato bag.

Tuesday, September 27, 2011

A day in the life... from arrival to departure at Michael Levine

Ever wonder what it's like to be a roll of cloth at Michael Levine's? Well here's a behind the scenes view of our operations!
Nearly every day, shipments of new fabrics arrive by truckloads at our warehouse, located right next door to the main store.


New items are unloaded and checked in by warehouse staff:


Some fabrics, as shown above, arrive on a double-fold board. But others, shown below, need to be converted by warehouse staff from large heavy rolls to a more easily-handled, double fold board.


The fabrics are then stickered with prices and other unique information used to track inventory and costs.


Some fabrics are then moved on carts to one of three floors of our expansive warehouse, and down a specific aisle, to a specific shelf.
Fabrics are organized by the category and department of our store to which they belong, and then further organized and stacked by color and price.
The warehouse is a great place to visit when a customer can't find what they need in store, or if they need a larger quantity than what's on display. One of our staff will certainly be happy to bring you here if need be!


New fabrics that have not been previously stocked will await a different cart ride, which will take them over to our main store or home decoration store.  There, they will make their debut as new items:


Upon arrival at our stores, one of our floor clerks will take the new materials to the appropriate shelf, making sure that price labels are attached and that the rolls are not too heavy to handle. The fabrics are now available for sale!


The last step before a material becomes a project is when it gets cut. Yardage is measured and cut at one of five tables and written up on a ticket for sale. This is where customers interact with our friendly staff and exchange ideas and sewing tips with one another.
We hope that next time you visit our stores or website, www.LowPriceFabric.com, you'll take a closer look and enjoy knowing what goes into the daily operations of Michael Levine! Oh...and if you're wondering what happens to those last little end pieces when we finish a roll of fabric, be sure to read the next blog entry about our discounted remnant shop, the Loft!

Monday, September 26, 2011

Welcome!

Welcome to the official blog of Michael Levine's, the largest fabric store in downtown Los Angeles! We're REALLY excited to be launching our official blog in conjunction with our new website, www.lowpricefabric.com! Our blog will be a great place for us to interact and share ideas, projects, and inspiration. We'll also be giving you a sneak peek of new fabrics coming into the store and hitting the website. We plan to feature seasonal projects and ideas and are certainly open to your suggestions! We can't wait to meet our followers and get to know you as you get to know us!


Welcome to Suite 200... Behind the scenes at www.LowPriceFabric.com!

This is a test

fdzgfdgsggfdsgdgg